Artful Appliqué Part One.
Did you know there are dozens of ways to incorporate appliqué into your textile art, quilting, thread sketching and thread painting?
I love the look of appliqué, yet rarely use it formally. Nevertheless, my work often incorporates appliqué.

In this series, you will learn a little about appliqué and how to use it in less traditional ways in your creative sewing.
Exploring contemporary methods will be my focus.
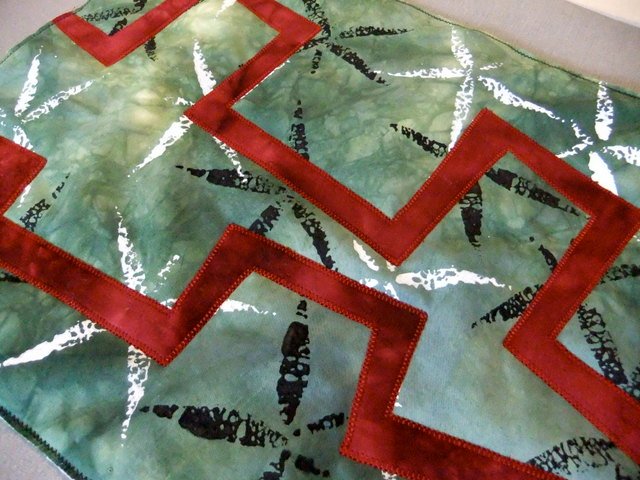
I hope you will take it beyond the basics and start using appliqué as a foundation for your thread sketching and thread painting.
The possibilities are almost endless, and the more you explore, the more exciting and varied your ideas will become.
This article kicks off with a broad overview to get you thinking!
Disclosure: Some of the links below are affiliate links, which means I may receive a small commission (at no further expense to you) if you click through and make a purchase. As an Amazon Associate I earn from qualifying purchases from Amazon websites.
What is Appliqué?
Have you got a rip or hole in your favourite jeans? If so, you may repair them by stitching another piece of fabric over the tear.
In essence, this is appliqué.
The word ‘appliqué’ derives from ‘appliquer’ – a French word meaning to apply or attach. Hence, any fabric you stitch over the top of another is appliqué.
When you think of it this way, it’s easy to see that appliqué had humble origins, being used to patch and repair.
Over time, it developed into an art form when people realised they could devise colourful or exciting variations and add designs to quilt tops, tablecloths, clothing, tents, and other artwork, including 3D creations.
Early examples go back to ancient times in Egypt, Africa, Asia and Europe, extending back more than 2,000 years.
Variations of appliqué and its use in quilting and other textiles took on regional differences as it developed different cultures.
Traditional appliqué that you are probably most familiar with are the varied examples and styles that developed in America over the last several hundred years.
But history is not my focus today!
Add a touch of ‘art’ to your stitched appliqué projects.
If you find piecing anything other than simple shapes difficult or tedious, turn to appliqué, and you’ll be quickly won over by the vast array of possibilities.
Some people may view appliqué as little more than a dated ‘craft’, but the beauty and technical expertise of traditional designs are a joy to behold. Furthermore, unusual and contemporary artworks are now being created using the same techniques, sometimes with a unique twist.
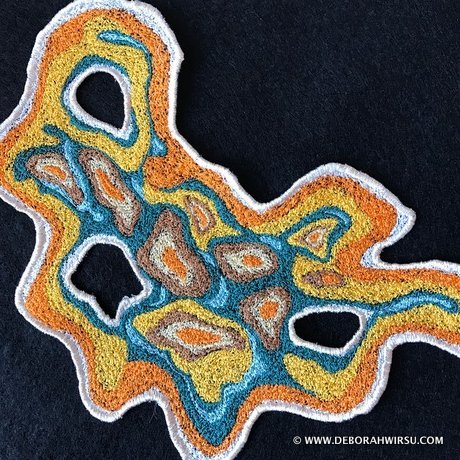
You can be as traditional or exploratory as you like — you are the artist.
This means you can use appliqué creatively, stretch the boundaries, go wild with colour or stitch embellishments … in other words, do whatever you like.
The Fundamentals of Appliqué
As appliqué is simply the process of creating a decorative design by layering and stitching one piece of fabric on top of another, the look can be modern or traditional, rustic, ethnic, formal or informal.
There are several methods for attaching the fabric pieces to the base, just as there are many different ways to stitch the pieces together.
Some of these will be explored in future articles.
Appliqué can be worked by hand or machine or using a combination.
You can follow patterns or create your own, which is great fun.
It’s exciting to see what amazing effects can be created by taking a design and using, say, a different palette of fabrics or colours or interpreting the design in a completely different way.
Tools – What you need to get started with Appliqué
Those already bitten by the bug of creative stitching or quilting will have the essential equipment and supplies needed sitting right there in your sewing cabinet:
- Fabric
- Scissors – for general cutting, and small, sharp scissors or specialist appliqué scissors
- Pins
- Hand sewing needles
- Thread
- Paper-backed fusible web
- An appliqué pressing mat
- Thimble (optional)
- Embroidery hoop (optional)
- Erasable fabric marking pen
- Tracing paper and pencils
- Sewing machine (unless doing your appliqué by hand)
Frames and hoops can be handy if they suit the style of work you are planning. I find I don’t use them very often, but there are many who love them.
Depending on the method you plan to use for your appliqué, there may be other items such as fusible web (e.g. Wonder Under, Bondaweb/Vliesofix, Heat n Bond), freezer paper, and stuffing (for trapunto effect).
Preparing your Appliqué design
Whether using a pattern, designing your own, or working ‘free form’, you must think carefully about the design layout before you begin.
Is the pattern the right size for my work?
If so, great! If not, you will need to enlarge (usually) or reduce it to fit. Commercial patterns will tell you how much you need to enlarge the design, expressed as a percentage.
How do I change the size of my pattern?
This can be easily achieved with a photocopier or by scanning into a computer and enlarging with a photo editing program. Alternatively, a copy shop or office supplies store will do this for you.
My pattern is too large to fit on an A4 sheet of paper!
In this case, divide the image into sections and print each part. Arrange the papers on a table, overlapping where necessary, until the design is correct.
Then, fasten the pages with tape, and you are right to go.
I want to create my own design.
Design inspiration can be found almost everywhere – books, magazines, the internet, leaves and flowers, everyday objects such as cups and saucers, spools of thread – the list is endless.
Keep in mind that sharp points and corners can be tricky to handle, depending on the application method you choose.
Check for overlapping segments. Most appliqué designs will have pieces that overlap each other.
Work out where each piece needs to overlap another (not all will need to, though), and when cutting your pieces, allow a little extra for the ‘underlap’ – just like adding a seam allowance when creating pieced work.
By doing this, your work will look balanced and realistic (if it is pictorial or floral, for example).
Choosing your Fabric
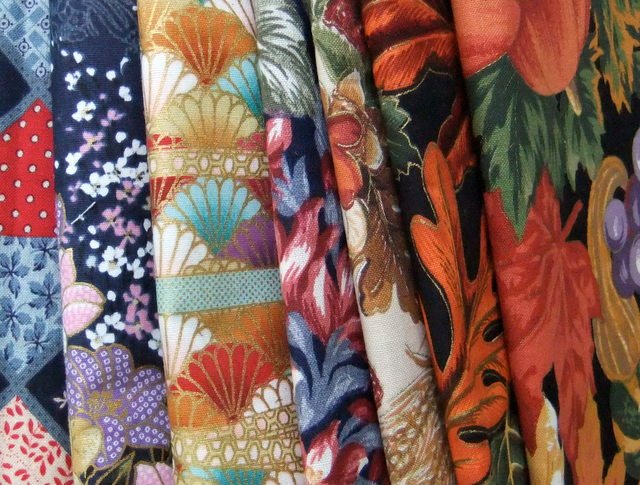
Fabric is where the real heart of appliqué is revealed, and the fun starts.
The materials you choose will determine the final look of your piece.
What type of fabric?
100% Cotton is most commonly used for appliqué, quilting and patchwork, but you can, in fact, use any fabric you like.
Silk is a popular choice but is a little more challenging to work with, as are polyester and sheers, due to their tendency to be slippery.
Textile artists often work with more unusual materials for appliqué, including newspaper and coloured paper, plastic and metals.
Pattern or design on the fabric.

The sky is the limit here. Choose an appealing design that suits your needs and aspirations.
- Large or small prints
- Floral
- Geometric
- Spots or stripes
- Tone-on-tone prints
- Solid colours
- Monochromatic colours or black and white
- Warm or cool colours
- Complementary or contrasting colours
You can also ‘fussy cut’ motifs, shapes, flowers, animals, etc. from fabric to appliqué directly onto your work.

Fussy cutting involves cutting around the edge of shapes printed on fabric and arranging them in an attractive design on another piece of cloth.
This is a handy technique, especially when creating a collage.
General guidelines for choosing colours
Try to choose a balance of toning and contrasting colours.
Think of your work like a painting, where the eye needs to be drawn around the images by colour and form.
Think of your work like a painting, where the eye needs to be drawn around the images by colour and form.
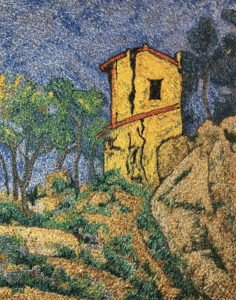
Looking at the work of some great painters, you will often see just the tiniest hint of a colour repeated around the picture, which subtly draws your eye into and around the work.
While inherent in some people, an understanding of balance, form, and colour theory can be learned with practice and experimentation.
I often work instinctively, where I feel that something is either working or not working.
Learn to trust your instincts, and don’t be afraid to push those boundaries.
View your work on a design board, or at least somewhere you can look at it vertically (as if hanging on the wall), and you will get a good idea of the overall effect.
If this isn’t possible, taking a photo of it is a valuable way to give you a different perspective. This can be quickly done using a digital camera, phone, iPad, etc.
There’s no need to keep these pics unless you want to … delete them when you’re done.
Everyone is different, and you will find the best method for you.
Methods of Stitching Appliqué
There are two basic methods: by machine and by hand.
Working with your sewing machine, you can use:
- Simple straight stitch – either ‘regular’ or ‘free motion’
- Zigzag stitch – either ‘regular’ or ‘free motion’
- Satin stitch (which is a type of zigzag stitch)
- Blanket stitch
- Decorative stitches.
Working by hand, stitch techniques can be traditional and neat or as random as appeals to you.
- Running stitch
- Blind stitch
- Satin stitch
- Blanket stitch
- Decorative stitches
Keep in mind that you can also add embellishments to your work in the form of:
- Beads
- Sequins
- Decorative thread
- Buttons, zippers
- Shells
- Wooden or metal items
- Plastic

Next time, we’ll explore some ways you can use appliqué as a basis for thread sketching and some of these varied stitch techniques – how to work them and some interesting variations.
Wonderful, such a refreshing way to look at applique. Very appealing, creative and encouraging. Thank you for getting my brain going in a ‘new’ direction.
Hi Toni – I’m glad you enjoyed this article … I try to find new ways for people to look at things. It’s so easy to keep on doing the same thing over and over (in my experience) and pushing the boundaries always opens up new possibilities and teaches us what we like (and dislike!) doing.
I like the idea of Artful appliqué. How much is this course?
Hi Ann … Artful Applique is, at the moment, a series of articles I’m planning on the subject [all free of charge!] to post on this website – it’s not a course.
Maybe I need to consider creating a course! 🙂
Deborah
I have found your articles and courses very useful in learning and inspiring creativity. I taught my grand daughter how to paint and stitch on fabric using the 3 chicks pattern you provided.Thanks for all the encouragement.
Hi Cathy – Wonderful that you’re passing on these skills to your grand-daughter. So many people have no idea how to even sew on a button these days, which is sad. I hope to help people (of any age) enjoy this craft as something stimulating and useful, rather than old fashioned.
The 3 chicks pattern would have been perfect for a young girl! Lovely!