If you want to know how to improve your thread sketching FAST, I’m guessing you know what I’m going to suggest … (practice). Everyone knows that practice is the ultimate secret to improving your ability in anything you undertake.
But I’m not going to leave you in the dark, so will be offering some very simple ideas for how to improve your thread sketching technique at lightning speed while also making beautiful and useful works of art.
Stop thinking of thread sketching practice as a chore, and create something beautiful while practising instead.
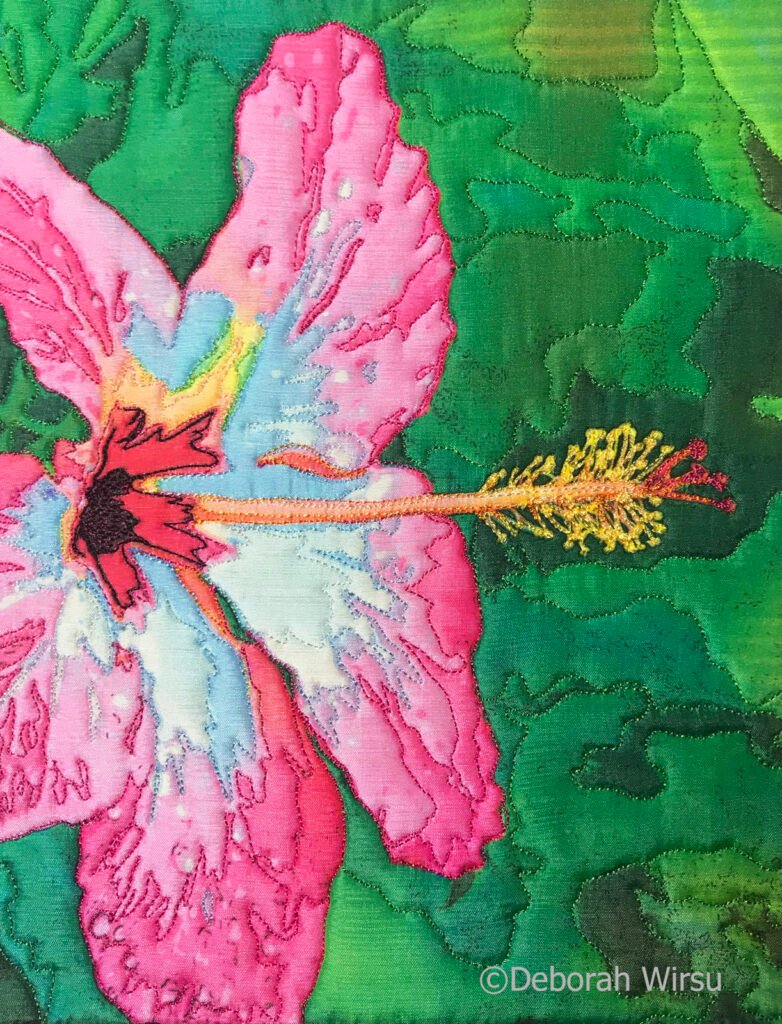
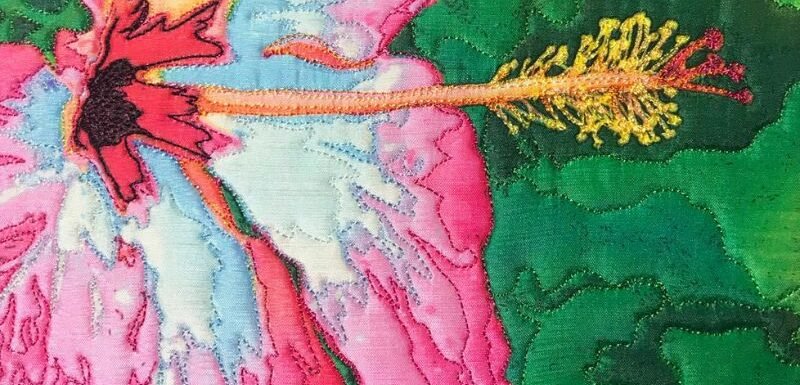
All it takes is just 3 simple steps. This thread sketched art quilt, albeit a small one, was made in just one hour — start to finish! It’s colourful and pretty, and worthy of joining the ranks of another successful project!

How long a project takes you doesn’t matter, so you needn’t feel pressured to achieve something in one hour!
The point is that projects like this can be quickly finished.
So let’s get stuck in: Below you’ll find more information and a handy video demonstration to get you going.
Affiliate Disclosure: Some of the links on this site are affiliate links. This means I may receive a small commission (at no further expense to you) if you click through and make a purchase. ThreadSketchingInAction.com is a participant in the Amazon Services LLC Associates Program, an affiliate advertising program designed to provide a means for sites to earn commission fees by advertising and linking to Amazon.com.
How to improve your thread sketching FAST – ‘Keep It Simple’
Regardless of whether you choose to call this technique thread sketching, thread painting, free-motion stitching, or machine embroidery, the bottom line is that they all use free-motion machine stitching to create a piece of fabric art.
It makes me sad when I see people struggling to get the hang of free-motion stitching.
When I started out, I was just the same.
I took the wrong approach and as a result, I made mistakes, encountered endless problems, and was often unhappy with my results.
The ‘light bulb’ moment
It wasn’t until I sat down to really think about why I was struggling that I had one of those ‘light bulb’ moments.
Everyone needs to progress through a series of ‘levels’ to gain relevant experience. Through personal experience, I’ve learned that it’s always better to do something simple very well than to make a mess of something complex.
I see this situation so often—where people, inspired by the beautiful work they see others doing, bite off more than they are perhaps ready to chew.
There is no need to feel intimidated when you realise that the ‘experts’ have probably been thread sketching for years!
Unless you’re one of those gifted few who can master a new technique in 5 minutes, most of us need to accumulate a certain amount of experience before tackling advanced projects.
But that doesn’t mean your work needs to look like the work of a beginner! My philosophy is that if you can keep something simple, why on earth would you want to complicate it?
Life is simple, but we insist on making it complicated.
Confucious
Avoid thread sketching frustration!
Many artists spend their entire careers endeavouring to simplify their work. What the masters of the artworld achieve, of course, is the ability to make something difficult look simple!
My first steps in free motion stitching were unimpressive, to say the least!
Even after a lifetime of sewing, I hadn’t then acquired the ‘feel’ of free-motion stitching. More importantly, I tried to stitch designs that were far beyond what I was ready to take on.
Naturally, I became frustrated. I’d look at everyone else’s work and feel like a failure, so I decided to change tack, let the wind take me in a new direction.
Soon the glorious day arrived when I was drawn along by the breeze of things going well.
When things go well, your confidence grows
When things are going well, your confidence grows. You’re willing to spend more time doing the things that are working and ignoring those that are not!
New ideas come to mind, and creativity blossoms.
As a result, you find yourself practising without even noticing! (How good is that?).
Are you trying to do too much, too soon?
Perhaps you simply want a cheerful method for creating thread sketched art very quickly?
Why not try this simple approach and find the current that steers you toward your dream destination … that happy place where you are enjoying thread sketching and thread painting, with the confidence to know you are in control.
Here you go …
How to improve your thread sketching FAST! (the video – TSIA No 93)
Watch this short video demonstrating the stitching process of this ‘practice’ design. Or read on for more information about the process.
Improve your thread sketching FAST – in 3 simple steps
Step 1: Plan your thread sketch
Plan your work as a whole cloth fabric panel or digital photo printed on fabric.
Practising thread sketching and thread painting does not need to be boring! It’s fun when you have something beautiful to share, and you’re proud of the results.
Deborah Wirsu
Printed panels offer a great alternative to more time-consuming methods of art quilt creation. Most quilt fabric suppliers provide a range of panels, in varied styles and colours.
Alternatively, you can use a digital photo. I often use my photos as the basis for my textile work. Sometimes, the photo is printed on the fabric. At other times, I use the picture as inspiration for an appliqué or collage project.
Today, my ‘whole-cloth’ quilt is a small one. Although I often enlarge or combine images to create more substantial works than this, I chose a smaller format today.
Working on a smaller project means:
- The project is more manageable and less intimidating.
- It will be completed in less time.
- More projects can follow, giving you more practice.
- Small projects make ideal gifts!
Step 2: Create a quilt sandwich or stabilise your thread sketch
Create a quilt sandwich consisting of 3 layers: backing, batting, panel (bottom to top), and firmly secure it all with pins.
Sometimes, I elect not to include the batting, being guided by how I want to ultimately use the finished design.
An alternate method is to use a firm stabiliser— a useful technique if you wish to frame your work in a traditional picture frame.
Step 3: Free motion stitch the outlines or key shapes.
Look closely at your panel or photo.
Identify the most clearly-defined shapes and select thread colours that tone with your panel.
I suggest using 40-gauge machine embroidery thread for this style of free-motion stitching, along with a machine embroidery needle, and free-motion foot.
For more information about machine embroidery thread, read this article: Best Machine Embroidery Thread for Free-Motion Stitching.
![In the Pink [detail - work in progress] - How to improve your thread sketching - Deborah Wirsu](https://threadsketchinginaction.com/wp-content/uploads/2020/08/Hibiscus-Thread-Painting-workinprogress-1-300x164.jpg)
Avoid puckering by beginning your stitching in the middle of your wok (or as close to the middle as possible). Working from the centre toward the edges allows you to prevent bubbles by smoothing out the fabric as you stitch.
Stitch the main shapes first – this serves to secure your entire project. Adding further stitching within these areas then becomes a stress-free process!
Add any finishing touches or highlights at the end.
![In the Pink [work in progress] whole cloth thread painting - Deborah Wirsu - improve your thread sketching](https://threadsketchinginaction.com/wp-content/uploads/2020/08/Hibiscus-Thread-Painting-workinprogress-4-300x197.jpg)
Take your thread painting to the next level…
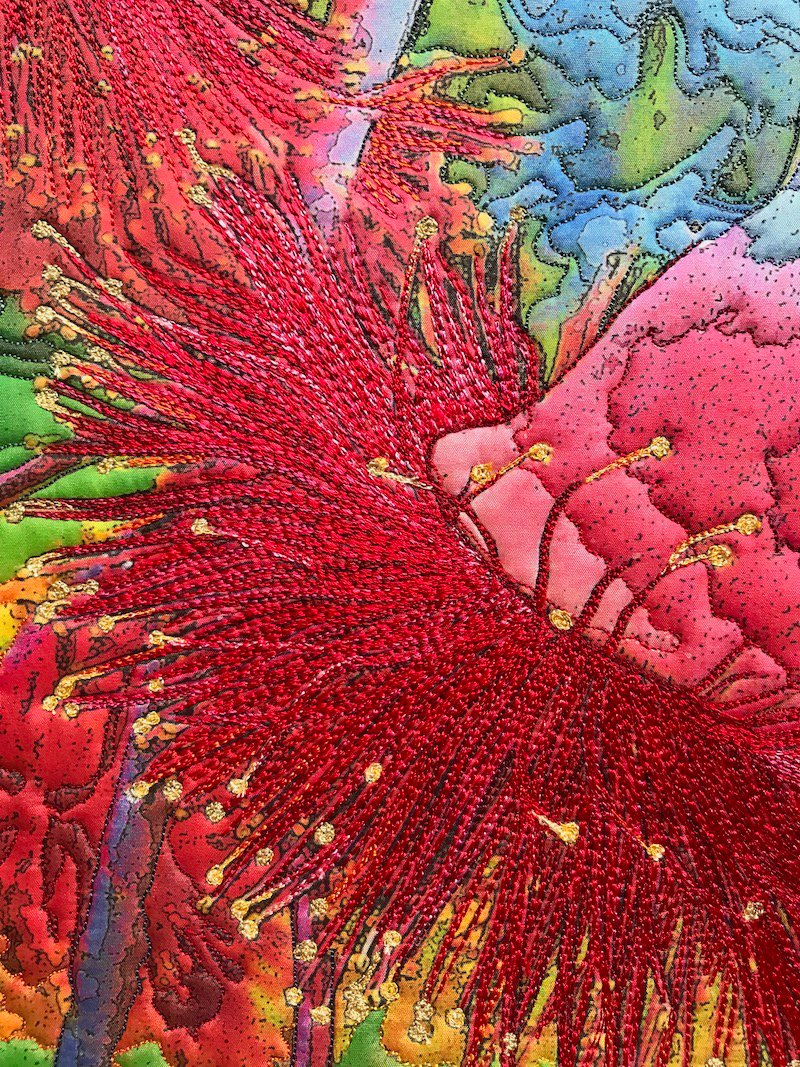
Practising thread sketching on a whole-cloth panel or printed image offers the perfect introduction to stepping up to the next level. Develop your skills in shading and blending using free motion straight stitch and free motion zigzag stitch.
Each of these thread paintings was worked as a whole-cloth project:


Practising on small projects, be they thread sketching or thread painting, allows you to develop your skills without feeling as though you’re practising.
