Get Creative (not fearful) with your free motion stitching!
Begin to develop freedom, fluidity and evenness in your free motion stitching. Simple lines, loops and circles are the easiest way to begin – it doesn’t matter if you stray out of place, and you don’t have to show it to anyone!

Even if you’ve never tried free motion stitching, give this a try…
Even if you are a complete beginner I urge you to give this exercise a try. Don’t worry if, the first time, your curved lines are a bit jagged or wobbly, your circles overlap (where they perhaps shouldn’t), or your stitch lengths are uneven.
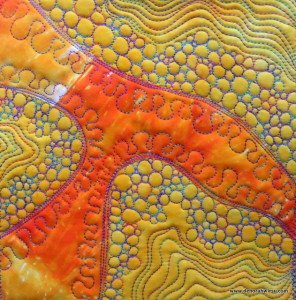
In an earlier article, which discussed easy ways for beginners to get started in free motion stitching, I received a number of comments and questions regarding the difficulty of creating a piece like one shown in that article:

So I thought it a good idea to give you a ‘heads up’ that, YES, you can do this!
Don’t be intimidated by this exercise…..there are no ‘rules’ about how it should look.
Remember – it’s an exercise – not a work of art!
Relax!
By doing the exercise a number of times – perhaps varying the design or layout each time – you’ll soon be feeling relaxed and more comfortable with your free movement of the fabric under the needle.
When I began free motion quilting, I tried reproducing neat, orderly filler patterns that were anything but neat and orderly!
My approach is to help you develop no fear and complete freedom so that you can then go on to develop your FM skills and be able to do anything you like, eventually.
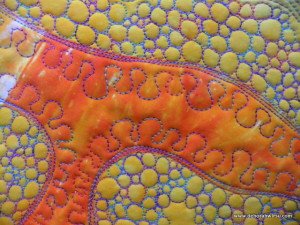
I’ve produced a little video showing how the piece (at the top of this article) was stitched – and how you can do one just like it. Now (at the time of republishing this article in 2018), this is an ‘archived’ post, but still so useful that I’ve reproduced it here.
Fearless Free Motion Stitching for Beginners
What you’ll need
- A free motion foot for your machine – generally referred to as an open toe foot, free motion foot or darning foot.
- Consult your sewing machine manual if you’re not sure how to drop the feed dogs on your machine.
- A prepared quilt sandwich (approximately 12″ square) that has been pinned, basted or fused together to prevent movement of the layers. In the example I’ve made, I added an appliqué shape to give me something to stitch around, however, this is not necessary. Or you could simply use an erasable fabric marker to define an area.
- Thread
What you’ll learn
How to:
- Stitch along a curved edge
- Stitch wavy loops and lines
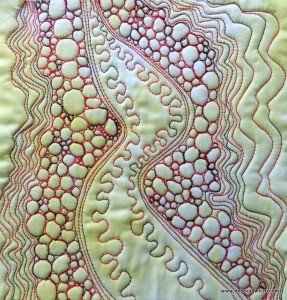
- Stitch ‘Pebble’ stitch
These are introductory stitches that can then be worked up into other designs and shapes.
What you’ll accomplish
- Freedom and relaxation in your stitching motion
- Confidence
Don’t be alarmed if your first effort is not perfect – FM stitching takes practice – lots of it!
Mastering these basic skills and stitches will set you up for future skill development.

This article was first published on 7 July 2015 on DeborahWirsu.com
Thanks for visiting!