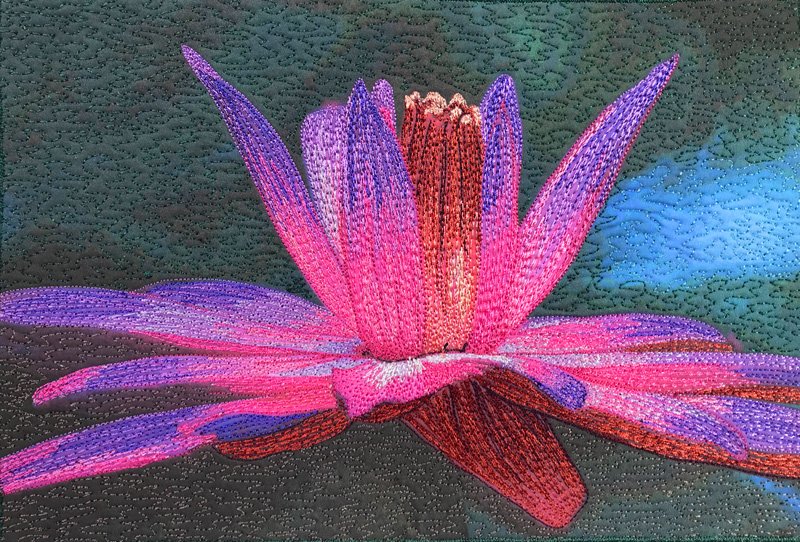
Today was the day! Carpe diem!
After spending far too long away from my sewing machine (and in front of my computer), I decided it was high time I not only re-acquainted myself with thread, fabric and machine, but also brought you another Thread Sketching in Action Video.
So … Thread Sketching in Action No 91 – Waterlily Pirouette – was born!
Lest you tire of my ongoing obsession with free motion zigzag stitch [learn how to create with zigzag stitch here], this time I’ve returned to everyone’s ‘go-to’ stitch– free motion straight stitch.
Free motion straight stitch is the first free motion technique most people try.
It’s manageable and reliable, and can be turned to so many varied uses, from simple outline thread sketching, to complex filler stitch and shading for thread painting, or a wide variety of different styles of free motion quilting. Once you gain the ‘feel’ for moving the fabric around under the needle, the world is yours to fill with stitch and colour!
TSIA No 91 – Waterlily Pirouette
Watch how this piece took shape …
Stitching the Waterlily
This type of thread painting can be worked on many different types of backgrounds:
- On a printed photo base (as used in this demo).
- On a base you’ve painted or drawn yourself.
- Even on a collage base – which allows you a lot of creative freedom with colours, as they are less influenced by any underlying image.
Sitting at my machine again, I got stuck in, preparing the fabric base layers, selecting threads for the thread painting, and working out the best way to approach the stitching order.
[Note – NO stabilizer was used in this piece]
Colour – Glorious Colour!
My original intention was to keep the stitching to a minimum, but alas, I could not!
The urge to fill the areas with glorious colour consumed me, once again.

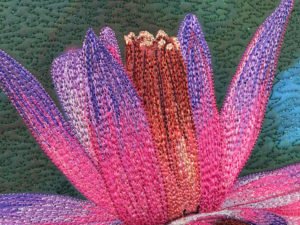
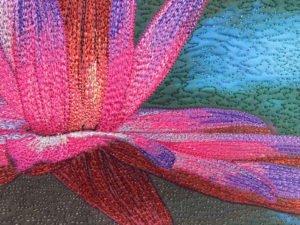
Although my first choice for thread painting is nearly always zigzag stitch (or a combination of stitches), free motion straight stitch was a great choice for this particular design, due to the elegant, elongated shape of the waterlily leaves, which lend themselves to long sweeps of straight stitch and the gradual progression of shades of colour.
It’s quite a long time since I last used straight stitch filler for thread painting, and I must confess, it felt a little odd at first, but I quickly got the feel for it again.

Be sure to check out the video to learn more, and see the stitching process ‘in action’.

That was fabulous! I loved watching how and when you layer colors. Thanks so much for sharing.
Thank you, Sue.
Thank you Deborah, for this very informative video. Your seemingly effortless way of blending colour is inspiring, and I love the way you have handled the background!
Thanks Ruth – I’m pleased you were able to gain something useful from this. 🙂
Thanks Deborah. This video was very helpful and I can put this technique to action on my current landscape quilt. I want it to be washable so I am going to use this technique of straight thread sketching in just some small areas on the quilt. I have had a problem trying to free motion zig zag and can not seem to go back and forth in a smooth motion. Practice makes perfect I guess:)
Hi Shann – I’m glad this has offerred a workable solution for you – that’s great!